
Pouring The Molds
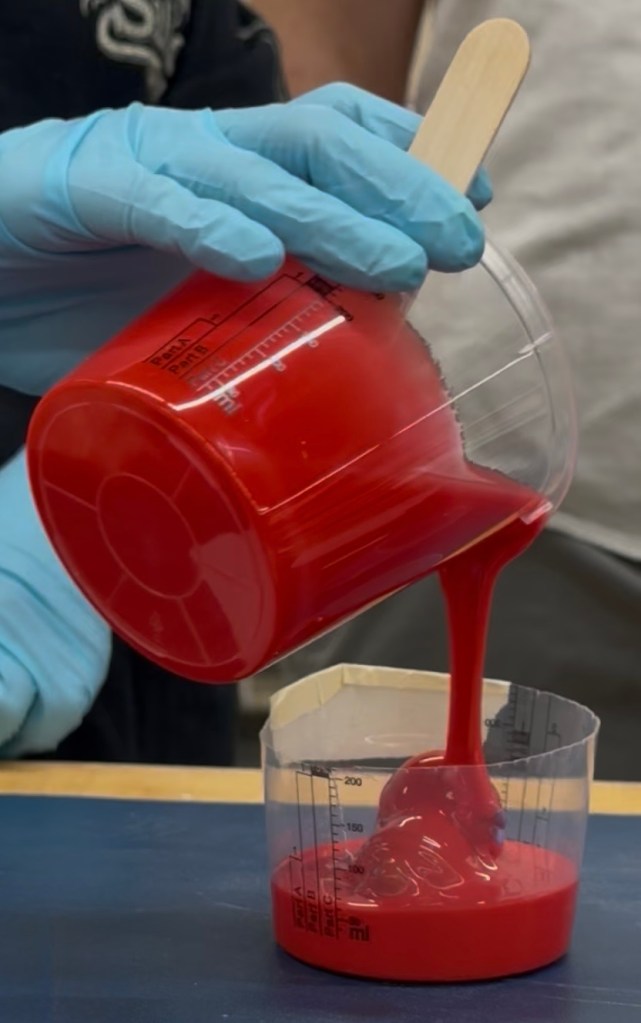
Good-bye, Donatello Turtle Duck… I poured the two-part Alumilite mixture into the cups over the item in a circular motion. Then I tapped the cups on the table to help remove bubbles in the mold.
Duck in Cup
Baby Dino Duck waiting for his fate.
Original Duck in His Glory
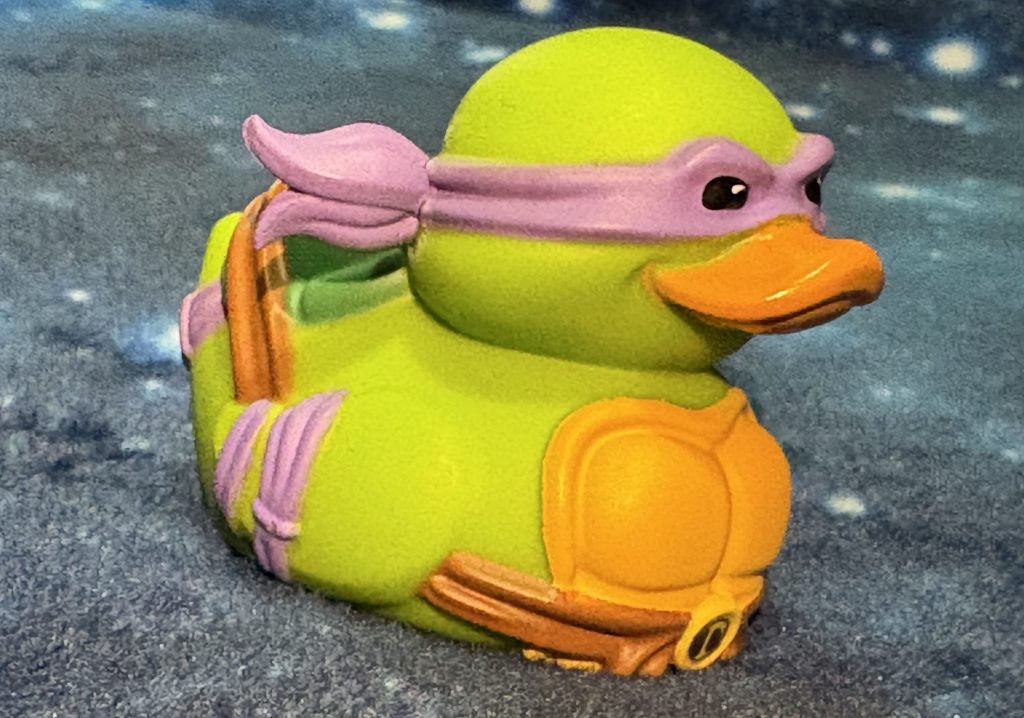
This is the main Duck I was hoping to replicate. The detail in this Tubbs Duck is immaculate, from his shell to his flowing mask; I hoped to capture it all.
Duck ~ One
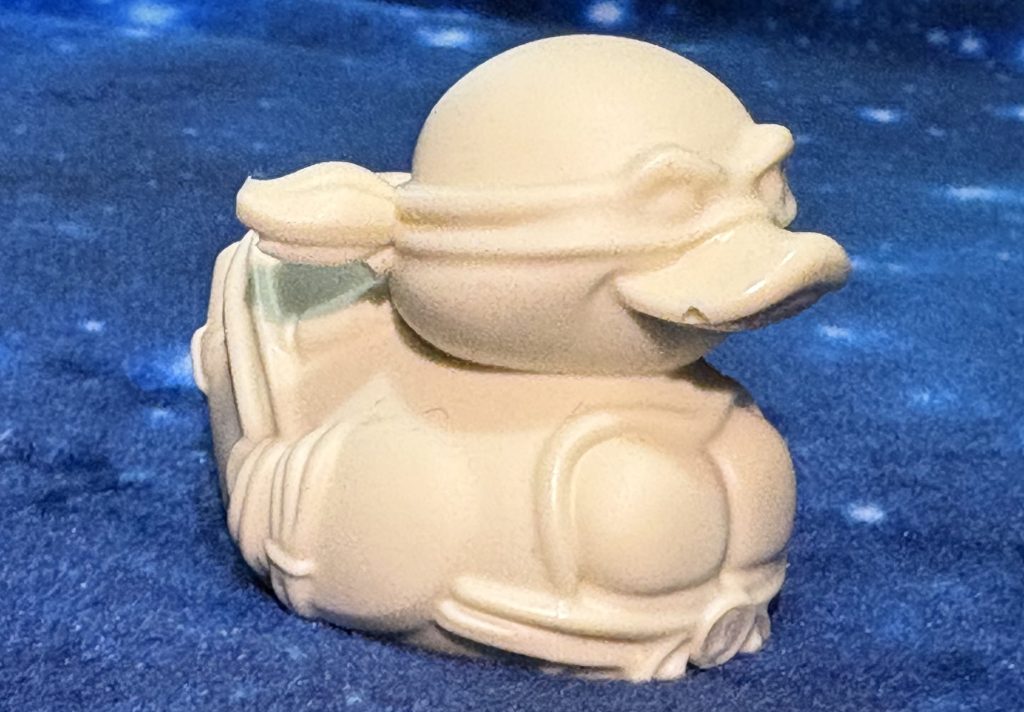
I used Smooth-On Mold-Cast 300; it was a 1A:1B by volume ratio [100 x 100]. He came out great! The Duck was very pale, cured fast, and had few bubbles.
Duck ~ Two
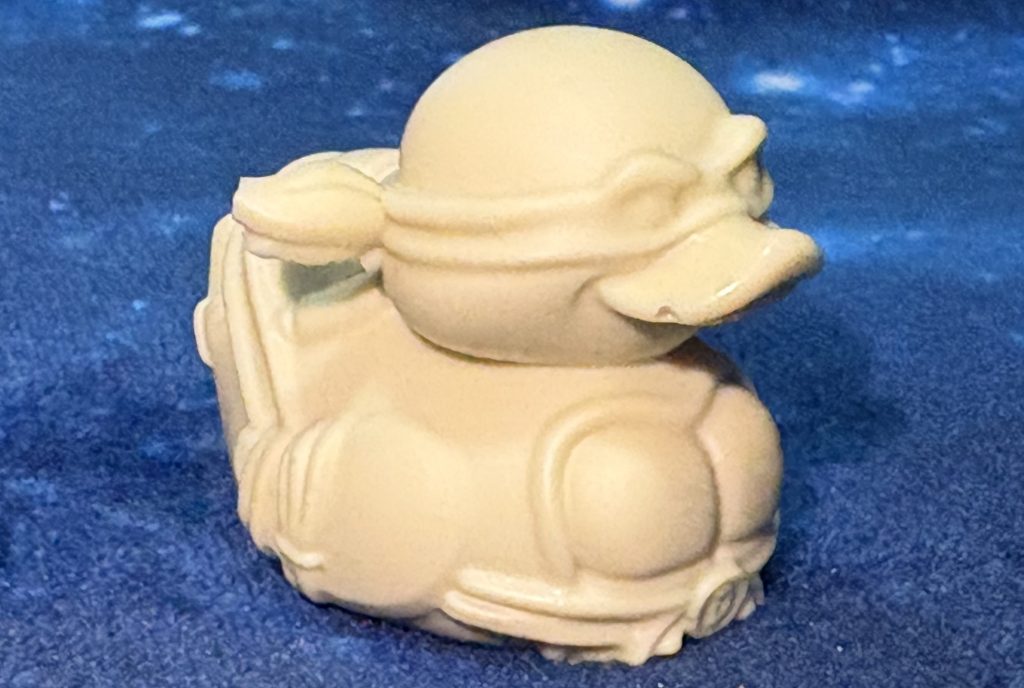
Still using a 1A:1B by volume ratio, I shortened it [50 x 50] to save on material. He was great too. Though he had gotten a tan, he still cured fast and had few bubbles.
Duck ~ Three
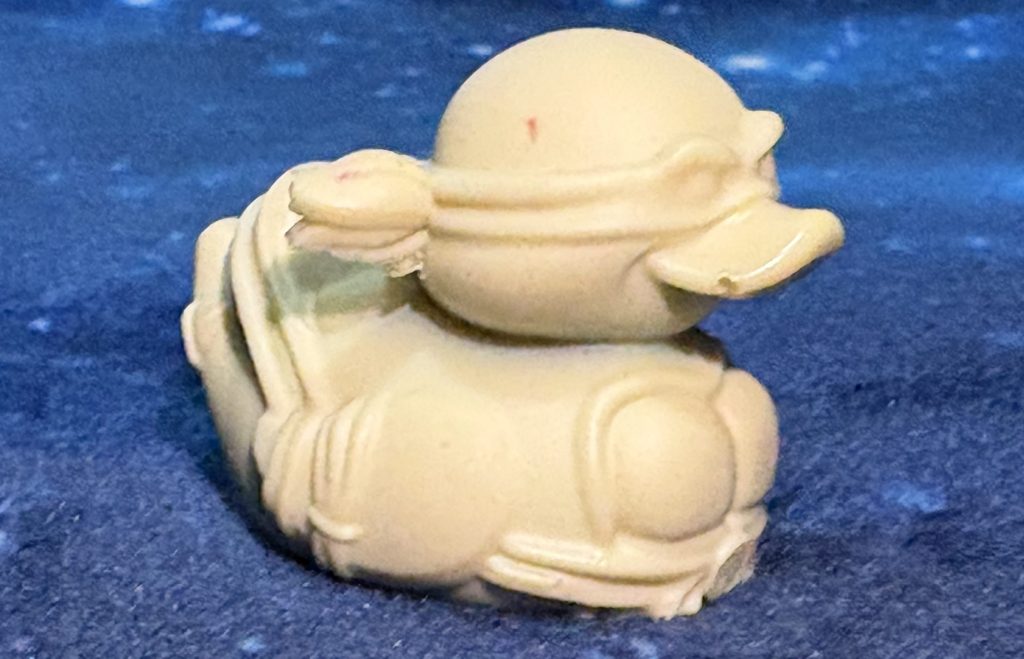
1A:1B by volume ratio continued; I shortened it [25 x 25]. Poor guy got some silicone stuck to him. He looks unwell. Few bubbles, but with the dry time being hours, barely enough mixture, and green spots, something went wrong.
Duck ~ Four
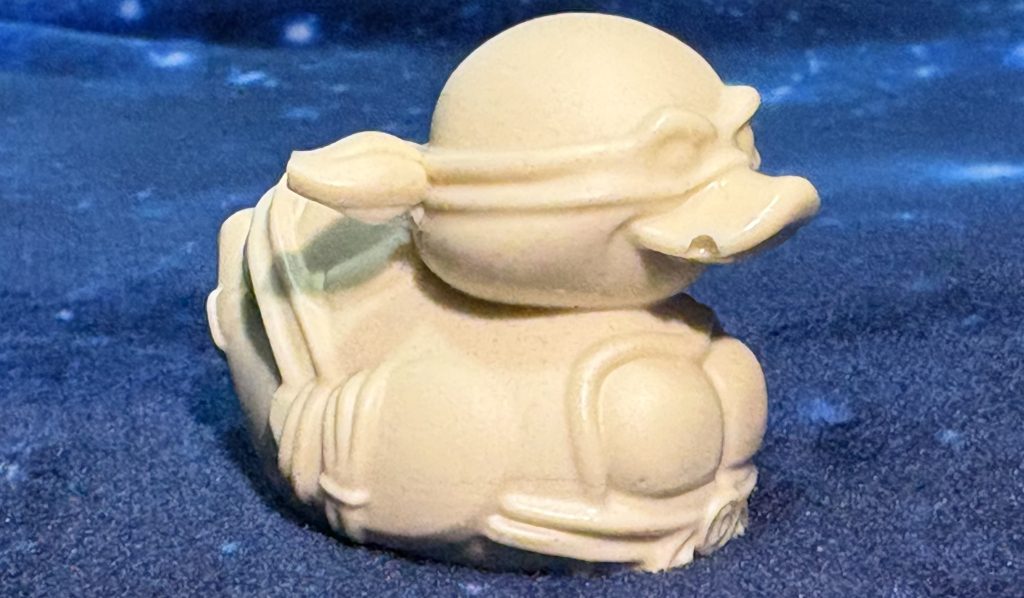
Now, for a change of pace, I mixed this one 100A:120B by weight. At first there wasn’t enough, so I added more. Having two layers didn’t affect much, except for extra bubbles around his tummy than normal . He was nice and pale though!
All ~ Top View
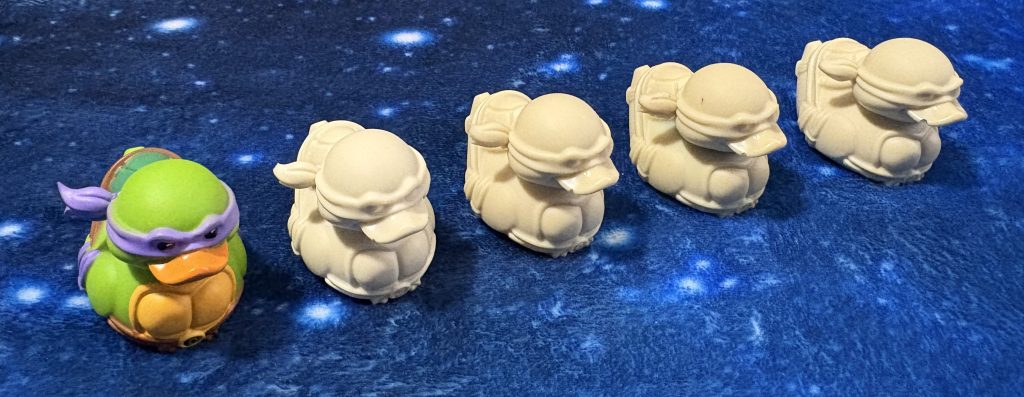
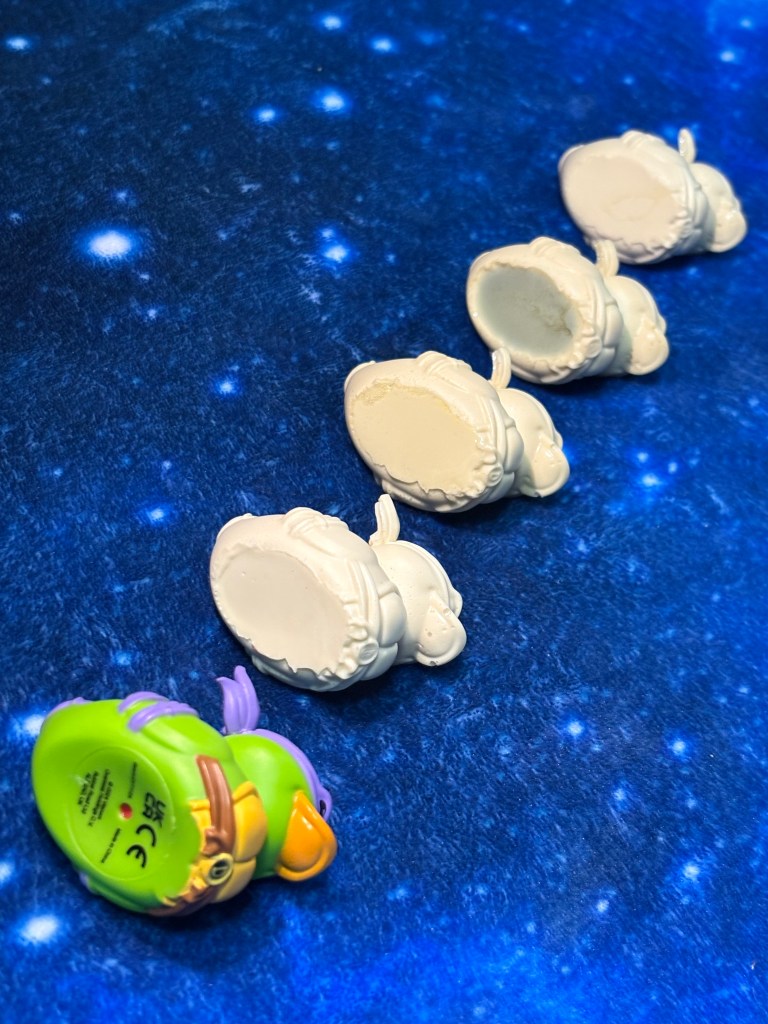
All ~ Side/Bottom View
Baby Dino Ducks
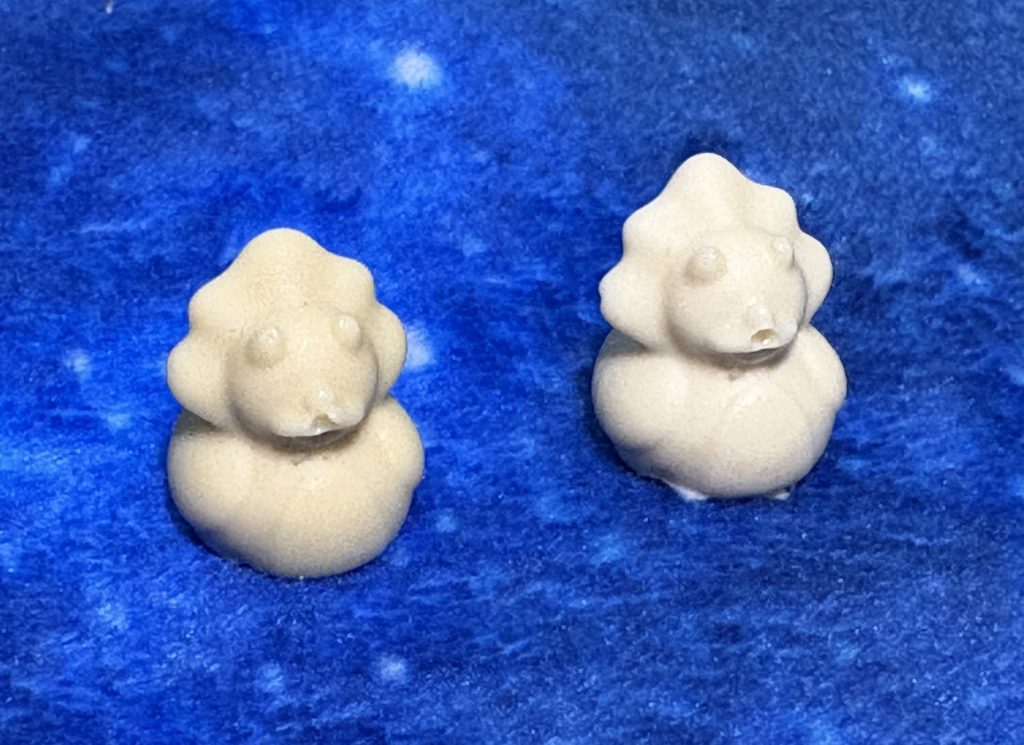
Left ~ Came out doughy but hardened after awhile.
Right ~ Pale and Perfect.
Computer Sketches
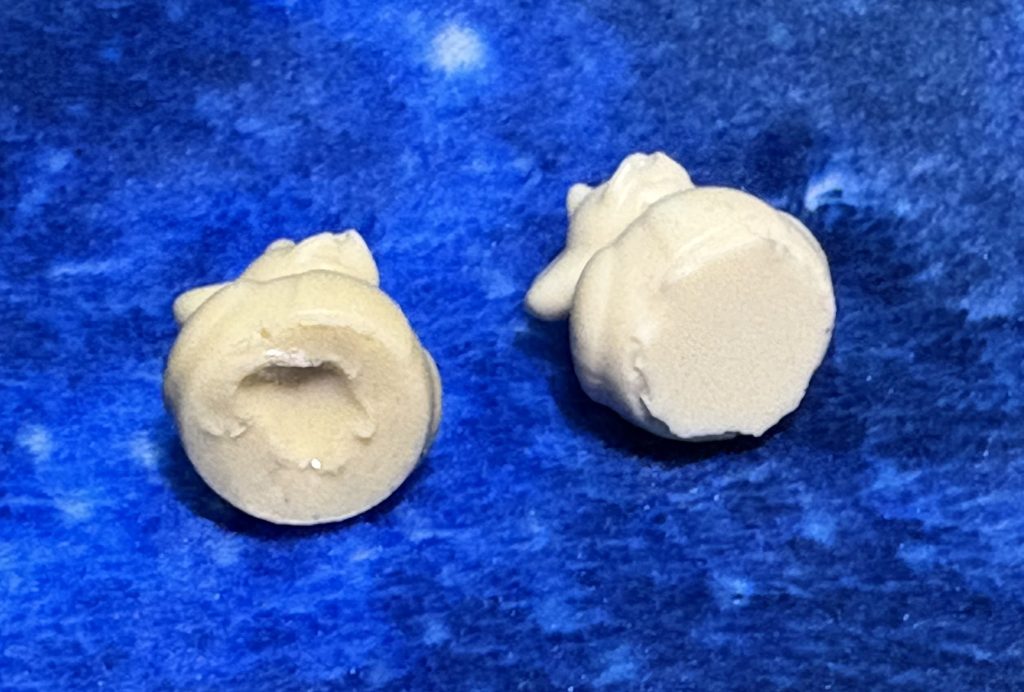
Left ~ Just barley enough mixture, so a hole formed.
Right ~ Smooth, yet jagged, Trimming the mold should help.

